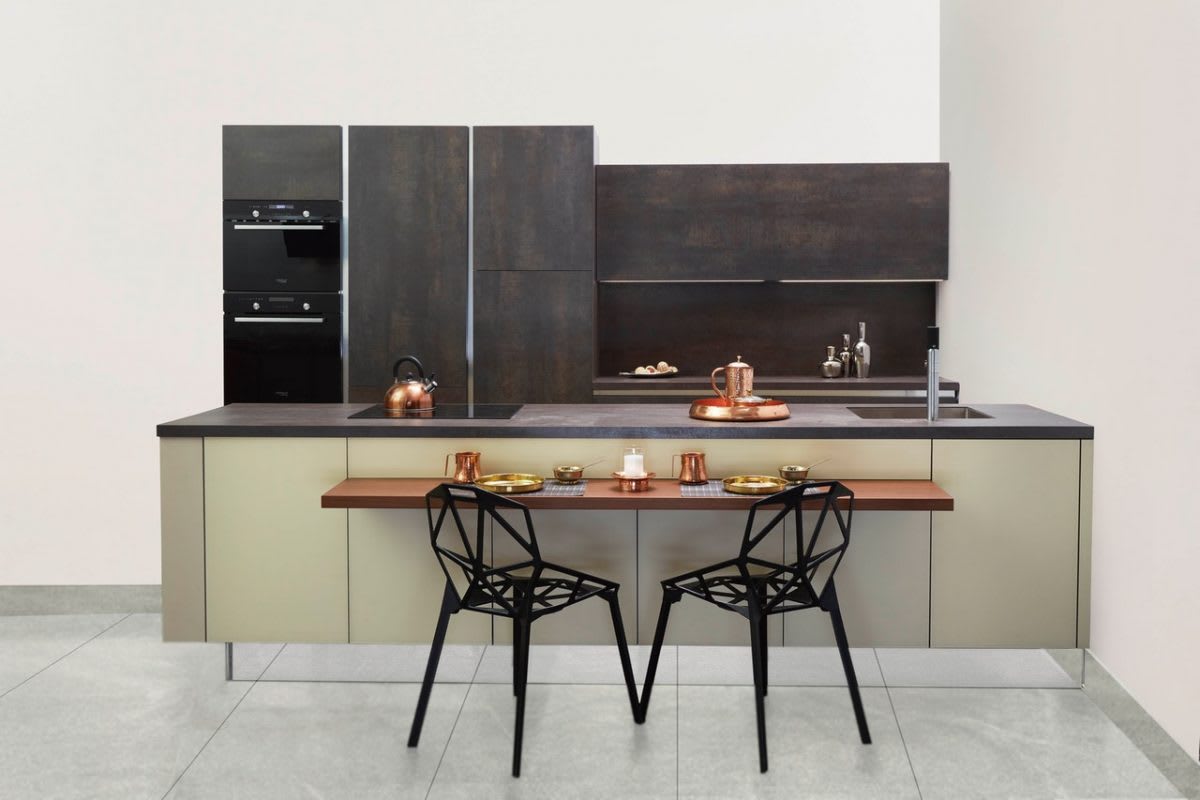
How To Install a Floating Shelf – Step-By-Step
“Floating Shelf Brackets”
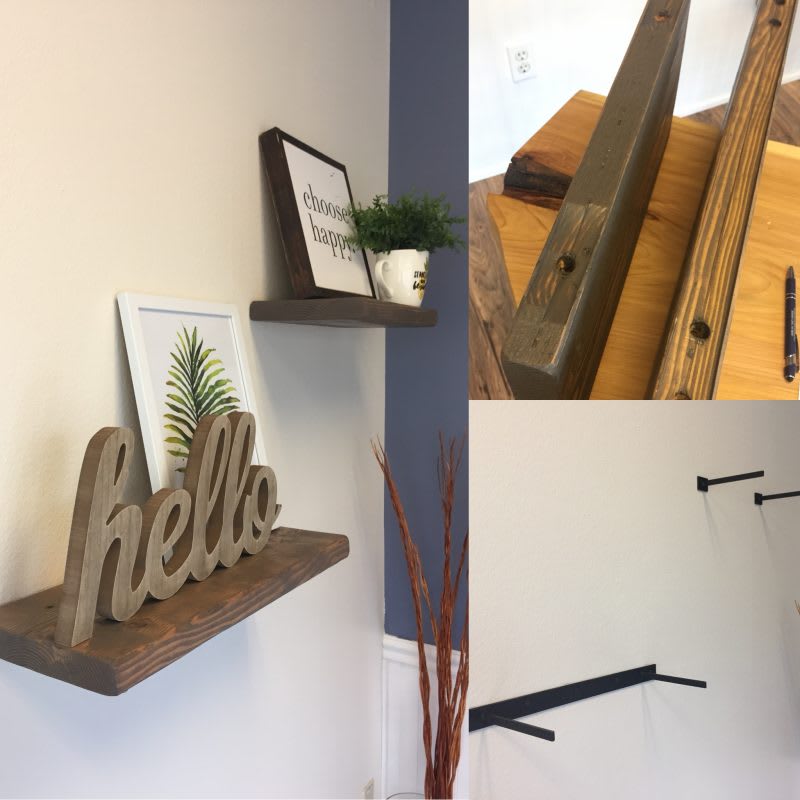
Right On Bracket Floating Shelf Brackets create a modern shelf design and the brackets are completely invisible. Here is a step-by-step instruction to install our brackets to create a floating shelf! We also offer kits, available in the floating shelf variation, that include shelf, bracket, and mounting hardware for everything you’d need to complete your project.

Floating Shelf Bracket Product Description
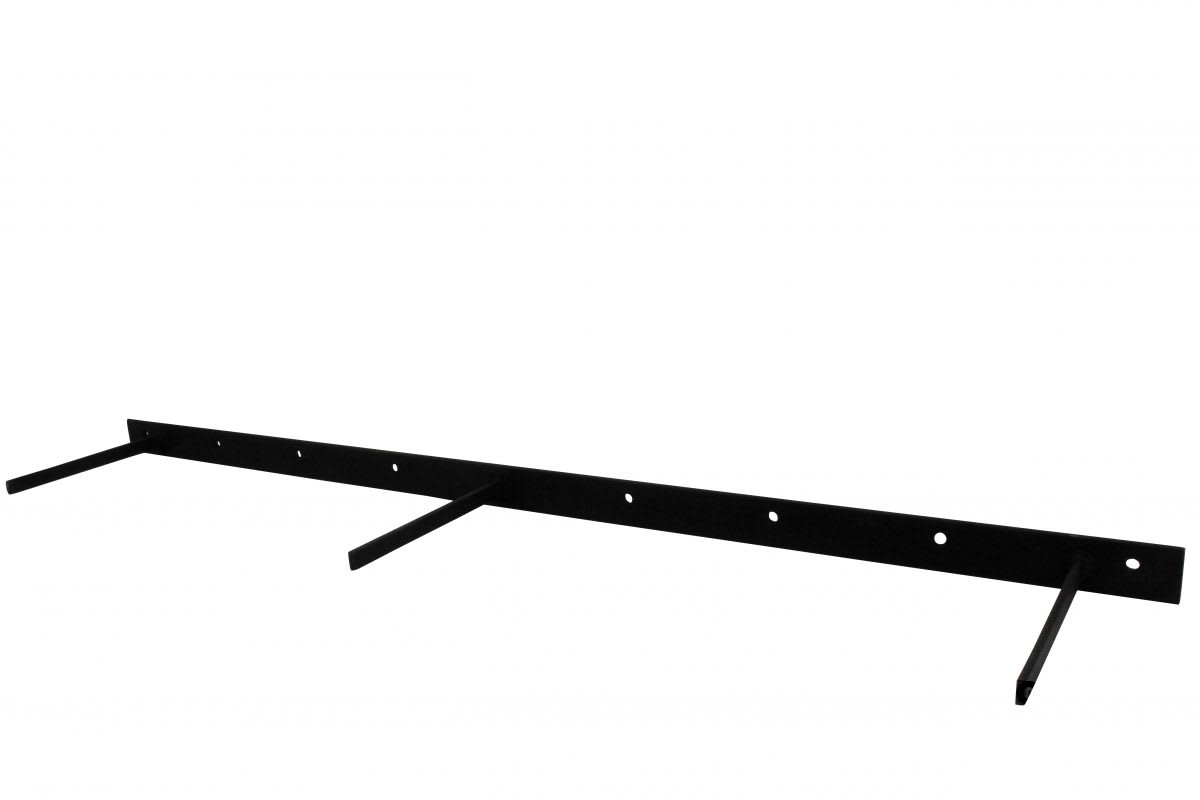
Our Floating Shelf Brackets have a 1.5″ wide flat bracket with variable lengths. The wood shelf you purchase needs to be over 1.5″ thick to make the bracket invisible. Welded to the flat bracket are flat dowels that stick out of the bracket. The amount of dowels welded to the bracket depends on the length. The amount is specified on the product page. These dowels will slide into the shelf. We use flat dowels instead of round ones because it will leave slight room for error with your mounting holes. Round dowels and holes need to be absolutely perfect to work.
Step 1 – Marking Mounting Holes
Once you receive the floating shelf brackets from us, you will need to mark the dowel locations on the back of the shelf and so you can drill your mounting holes. The locations of the dowels are different per bracket size. Wait until you receive the brackets before you mark and drill the holes.
Step 2 – Drilling Mounting Holes
We recommend using our signature drill guides when you drill your mounting holes. They will ensure your mounting holes are straight and the bracket bars will fit into them perfectly.
The drill guide mounts to the back of the shelf. Use two small screws to secure it. Make sure you use the bracket as a guide on where the drill guides need to be:
The drill guides fit a 1/2″ drill bit for your mounting holes. A 12″ twist drill bit is ideal, as you have plenty of length. Drill carefully and check the location of the hole twice and drill once.
Step 3 – Locating Wall Studs
We recommend using a stud finder to find every stud. This will ensure when you drill, you’ll hit a wall stud guaranteed. When you begin locating the studs, mark them on the wall with a pencil.
Once you locate your wall studs, hold your floating shelf bracket on the wall and compare with the pre-made mounting holes. We have 1/4″ mounting holes that start 1″ from the end of the flat mounting bar and are continuous throughout the bracket every 4 inches. If they line up…great! If they don’t, you’ll need to drill new 1/4″ mounting holes. You need to mount the bracket to the studs in you wall. Weight specifications are voided if the bracket is installed into only drywall.
Step 4 – Drilling New Bracket Mounting Holes
**Skip this step if the pre-drilled mounting holes line up with your wall studs**
Hold your bracket up to your wall next to your stud marks from step 3. Mark on the bracket the locations of your studs. This is where you will drill your mounting holes. Make sure your drill your holes at least 1″ away from the pre-drilled holes.
When you have your stud marks on the bracket, drill 1/4″ holes in the middle of the bracket. Use a step drill bit for metal, as this will give you a 1/4″ hole guaranteed.
Step 5 – Mount Bracket To Wall
When mounting the bracket to the wall, line up the mounting holes with the stud markings from step 3. When mounting, we recommend using #12 wood screws between 1.5″ – 2″ long. Mount the left or right side first, so you can move the bracket angle up and down. Use a laser or traditional level to make sure the bracket is perfectly level before drilling the second screw. Once you have the other screw in place and the bracket is level, install all other mounting screws into wall studs.
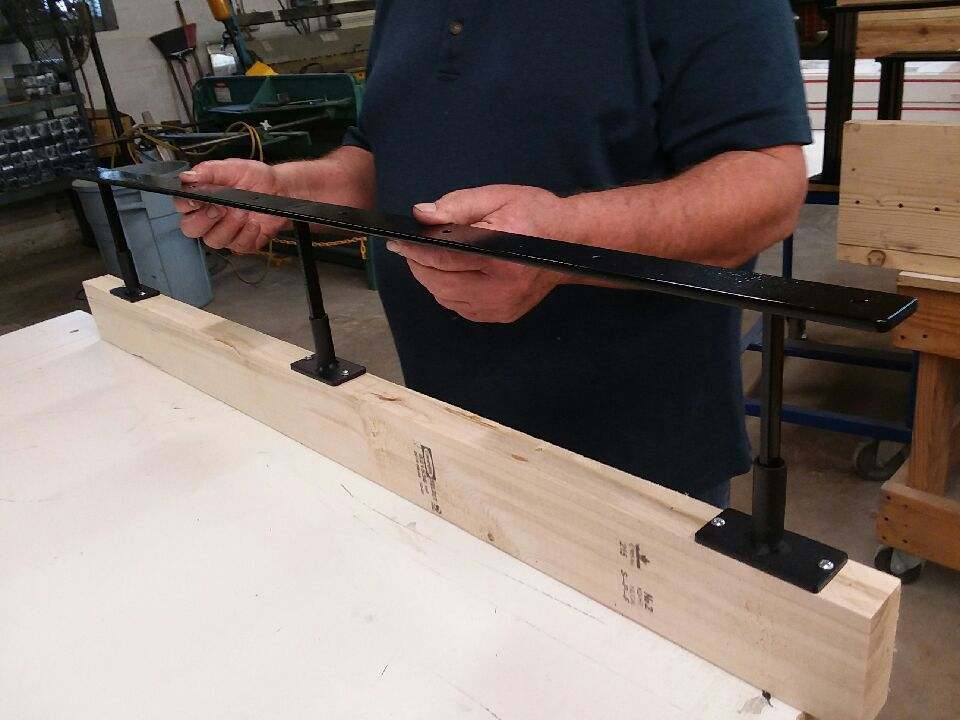
Step 6 – Slide Shelf Into Bracket Dowels
After the Floating Shelf Bracket is mounted, slide the bracket into the holes. As noted, you’ll have some room for error as you drilled round holes and the dowels are flat. Traditional floating shelves shouldn’t receive a ton of weight or objects hitting them, so this should be enough support. If you want to securely lock the shelf to the bracket, pour a small amount of epoxy into the holes as it will bond the the shelf bracket dowels.

Step 7 – Completion
Your bracket is now complete any you may put your decorations and items on the shelf! With the shelf included, our floating shelf brackets support weights between 100 – 250 pounds depending on the amount of dowels on the bracket. Make sure you know your shelf’s weight capacity and don’t come close to exceeding the limit. If you need more weight and still want a floating shelf design, we recommend using our heavy duty floating shelf brackets instead!