How To Install a Fireplace Mantel
This guide is from one of our more recent customers, its a step-by-step instruction guide on how to install a Fireplace Mantel Bracket! They were updating their home’s old fireplace with something more modern.
Find the studs to support the mantel
To begin this process, the drywall was removed exposing the wall studs. This would also be a good time to update the fireplace or mechanically fix it. Once the drywall is exposed, lines were drawn to measure the exact height they mantel should be mounted at. Once this is complete, the brackets may be installed!
If you want to be extra careful or have a higher weight capacity, we recommend using stainless steel hex bolts. These heavy duty hex bolts will give you the best hold that will last a lifetime.
When installing the brackets, we recommend loosely installing the top or bottom screw so you may maneuver the bracket to the perfect angle. When installing our fireplace mantel brackets, you’ll realize they’re very similar to our heavy duty hidden shelf brackets. Remember, the metal dowel on the bracket extends out 9 1/2″. With 1/2″ drywall, the maximum length you can adjust these brackets are 9″ long. If you need a shorter length, you have the option of moving the mounting plate back an inch or so.

Prep the Fireplace Mantel
Next you’ll need to drill holes into your wooden mantel. These holes need to be close to perfect, as the dowels are also round and should purely slide into the wooden mantel Keep in mind the dowel is 3/4″ made of solid steel.
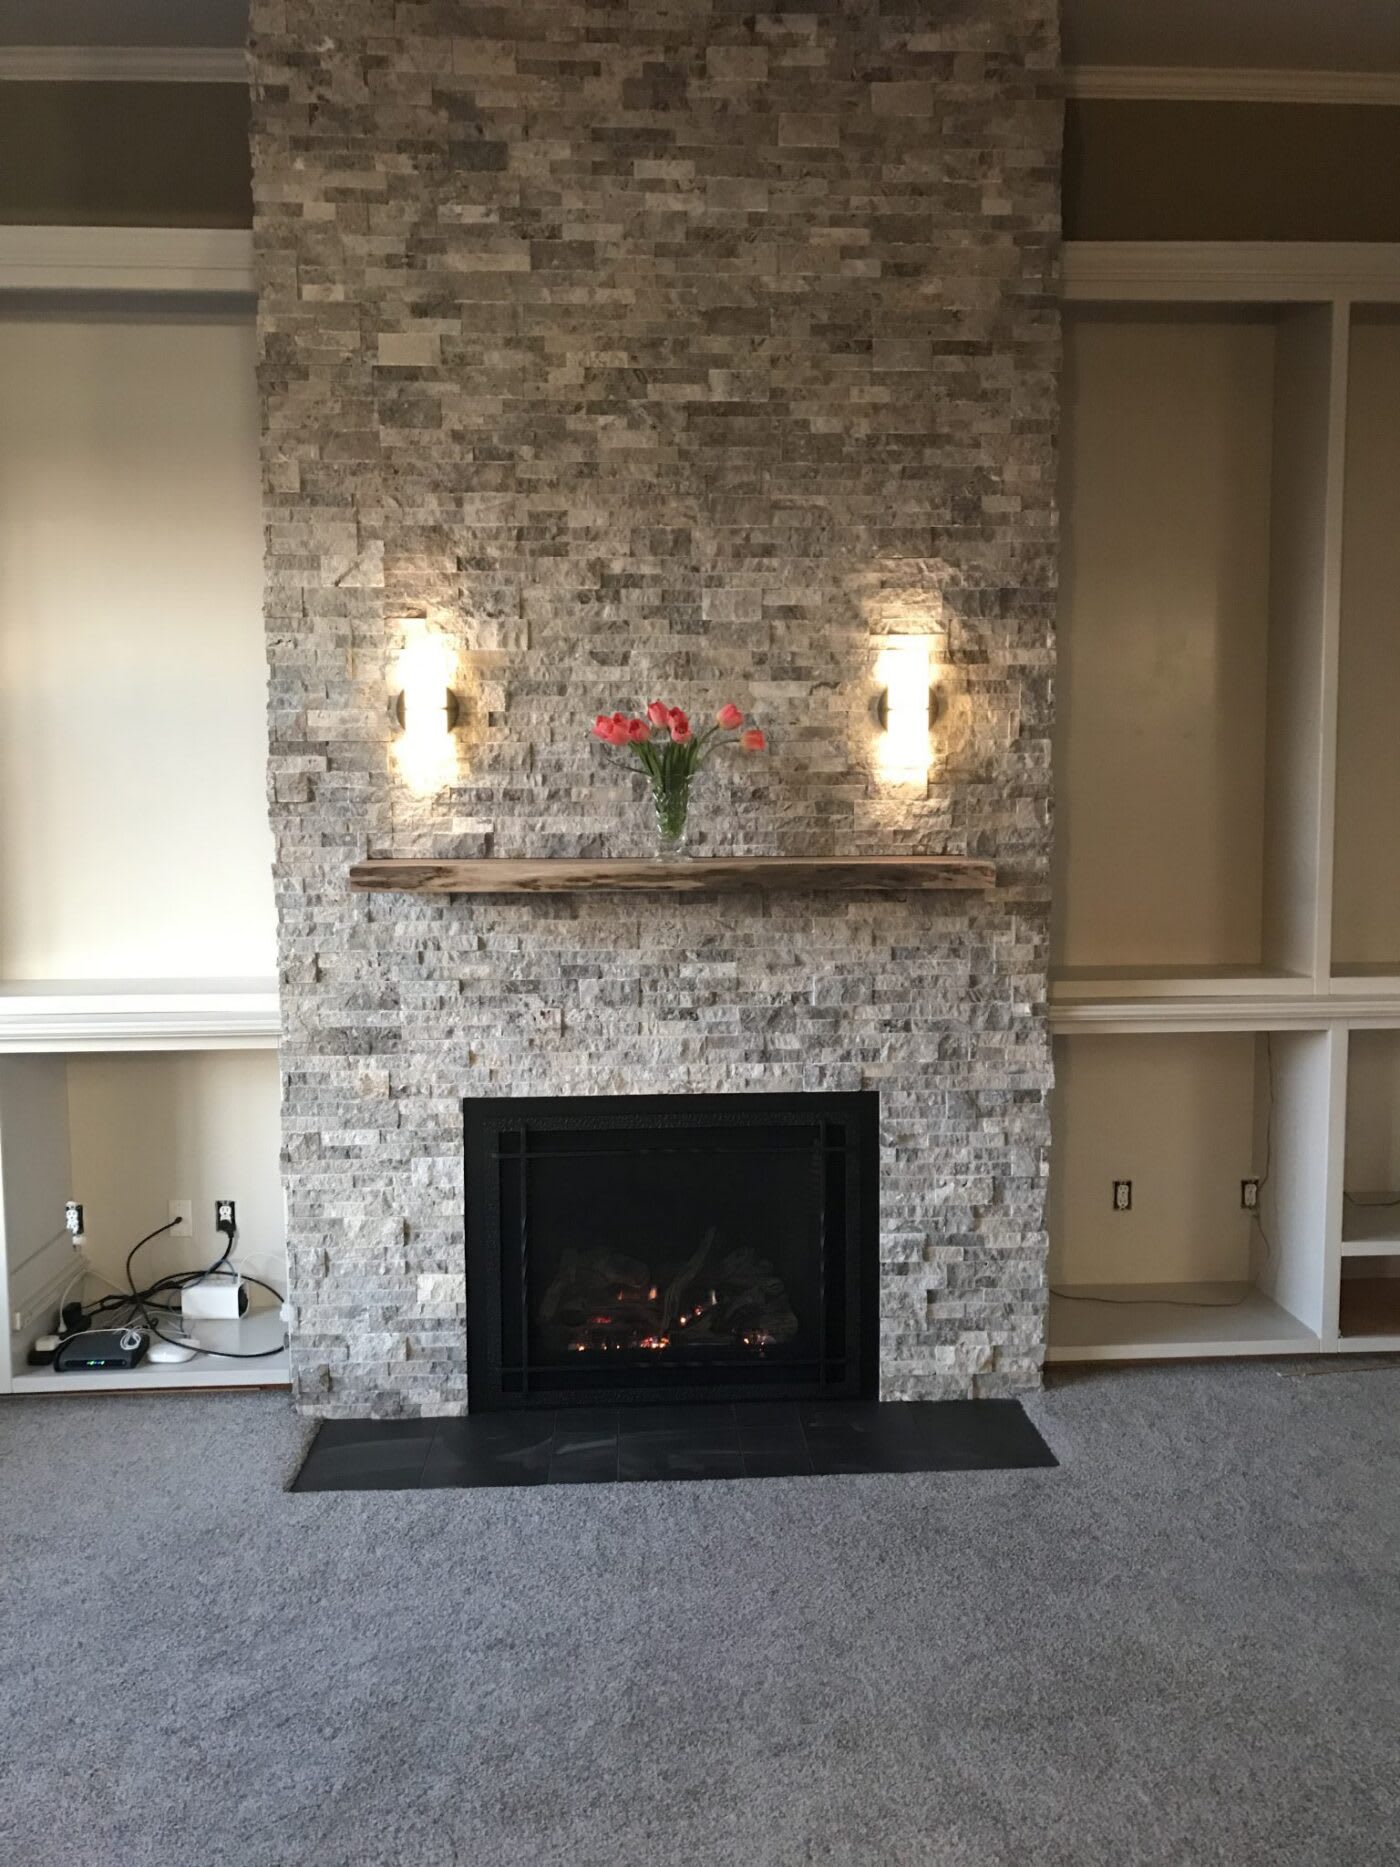
Once you have the bracket holes drilled, you may slide the mantel onto the bracket on the wall. If you’re worried about the mantel moving, put a tiny bit of adhesive at the end of your bracket, The glue will create a strong hold, yet still have the ability to be removed in pressure is applied. Once the mantel is installed, you should have a mantel looking like the photo below. Keep in mind, you want to test your measurements by installing the mantel with the wall still removed. If you need to make any adjustments, everything is still exposed.

After you made sure the measurements on the mantel are accurate, remove the mantel and re-apply the drywall. Unless you’re remodeling the wall or plan on painting a new color, be careful with the reapplication.

Install the Mantel
Once your drywall is re-applied and the decorative pieces are installed, you may re-install the mantel for good. Again, it should easily slide onto the studs and you’r welcome to put a couple drops of adhesive on the brackets.
In the photos listed, our customers used a stone that applied directly to the drywall. Looks extremely nice and relatively cheap to install!

Once the mantel is on and protected in plastic wrap, you may continue putting on the finishing touches.

Fireplace Mantel Bracket Advantages
Once your project is complete, you’ll have a “floating” mantel that has a ton of support. Our customers went with our brackets because they have 6 mounting holes that install directly to the wall stud. This will give the heaviest weight capacity possible.
We also use a solid metal dowel, when many of our competitors cut corners and use a hollow bar. This has the possibility of bending or snapping. Our products are made here in the United States and are hand inspected for the best quality product. We guarantee the strength of our products and will ensure they’re the best in the business!
Customers typically use this bracket for a Fireplace Mantel, but we’ve had customers use them for benches or shelves as well. They’re a very universal bracket that will serve a variety of purposes!


