How To Mount a Butcher-Block Countertop With Overhang
There are a variety of types of countertops on the market today. From granite to quartz to a faux granite epoxy/resin layer atop concrete, many contractors and DIY experts have found creative ways to make their countertops and kitchens stand out. One look that has fallen by the wayside until recently is the butcher-block countertop. This wooden countertop is a contribution to any kitchen. Exploring the details of this home feature and how to mount a butcher-block countertop with overhang will help you decide if this is the right option for you.
Process
Though some may think that the butcher block is a solid piece of wood, it employs strips of wood using a staggered, random pattern. Manufacturers bond these strips together using glue and clamps or implement a tool to create a pocket where screws with a locking washer on the ends can attach one piece of wood to another. These screws will be on the underside of the countertop to allow a seamless finish.
Then, the countertop goes through an abrasive belt sander to get a flush countertop surface and remove all the ridges. Typically, the countertop is in about three pieces until the sanding is complete, and then they fit together. One can then use a jigsaw to make a tight radius cut and curve the corners, if desired. From there, a router carefully trims the edges of the countertop, always in the direction of the grain.
Sealing
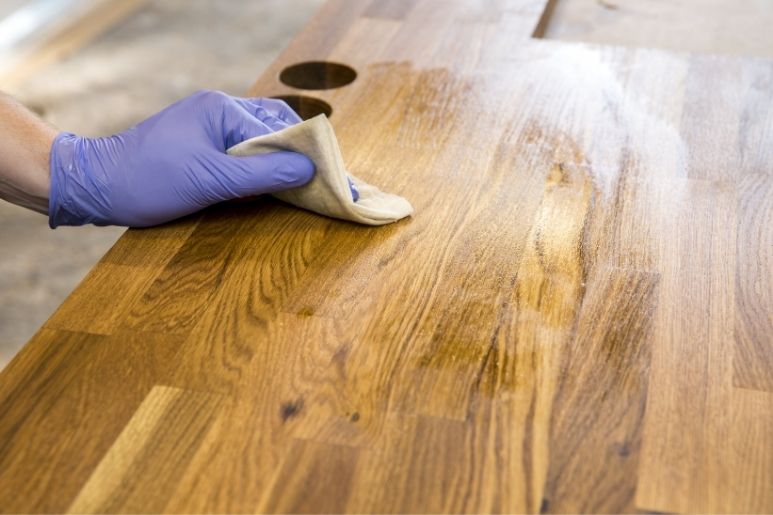
A butcher block oil and finish protects the wood from stains and spills. It needs to be food-grade safe to be of use in a kitchen. The oil won’t change the wood’s overall look—it will just enhance its grain and features—so pick the type of wood based on both hardness and appearance.
Materials
Several types of wood work well for a butcher-block countertop. The most common is maple due to its hardness and durability. Other options include oak, walnut, teak, and even bamboo. You may want to consult a Janka rating chart to understand the types of wood and their hardness levels. Cherry or red oak wood are popular for their rich color. Make sure to explore your options and gauge their finished appearances before making any final decisions.
Maintenance
Butcher-block countertops require more maintenance than some other counter material options like marble or stone. However, when you properly care for and retreat them every year, they can last for years to come. It is best to reseal them every six to twelve months, depending on the level of use. Additionally, to maintain the pristine condition of a butcher-block countertop, you should use cutting boards on top of the counter to avoid nicks and gauges. Cut raw meats in any situation on plastic cutting boards; bacteria from raw meat can soak into the grains of wood surfaces, so cutting raw meat on even sealed wood countertops is ill-advised.
Extension
The extension of a butcher-block countertop overhang can vary depending on your intentions for it. Whether you are covering a small kitchen island or creating a bar counter with stools below it for seating, your overhang will be unique to its purposes. For any overhang, you can go up to twelve inches past the cabinetry it sits on. Just be sure to keep the countertop consistent and parallel to the cabinets while scribing.
On the sides where guests will not be sitting, the overhang should extend somewhere between an inch to an inch and a half out from the cabinetry. Obviously, if any side meets a wall, there won’t be any overhang, and the countertop will fit flush to the wall.
Preferences
Many of the details mentioned thus far are purely preference. You’ll want to gauge the space you have in your kitchen and what your countertop may double as. If you’re finding it difficult to fit the counter space you want, consider eliminating or downsizing your kitchen table and installing bar countertops to double as an eating area. Formal dinners are few and far between right now anyway.
Stability
Before installing, consider stability. Countertops aren’t light-weight, and you want them to be secure. Right On Bracket makes heavy-duty hidden countertop brackets to ensure you’ve got a reliable product that won’t budge. These brackets offer seamless support, and their right-angled sides mount flush with the underside of the countertop and the wall of the cabinetry, leaving the room beneath the counter available for legroom. These brackets have a high-weight capacity and will have no problem supporting a butcher-block countertop.
Installing
Once you’ve worked out the details regarding your butcher-block countertop and its support brackets, you are ready to install it atop your cabinetry. Follow these steps:
- Attach supports in the corners beneath the counters inside of the cabinetry.
- Fasten the butcher block pieces together by drilling miter buckle holes.
- Keep the sections level.
- Insert the miter buckles into the drilled holes and tighten them underneath the counter.
- If you are installing a sink within this countertop, you will have to seal the sink to the countertop before securing everything.
Securing
Refrain from using silicone caulk or construction adhesive to secure the butcher block, as it will hinder natural movement and cause surface damage. Wood and wood byproduct material fluctuate with changing temperatures, levels of humidity, and even airflow.
Understanding this material and its characteristics will give you insight and allow you to expect the slight movements that will occur throughout the years. Brackets will keep the countertop in place in the areas where support is necessary while allowing for the ebbs and flows of such material. Install support brackets no more than twenty-four inches apart. Maintain twelve inches or less between the outermost brackets and the block’s sides.
It’s essential that you know how to mount a butcher-block countertop with overhang. If unsure, enlist the help of a professional before proceeding. This type of countertop can be a great feature in your kitchen, but if you don’t install and treat it properly, you will find it warping and in need of replacement long before its potential expiration.


