Installing Floating Shelves
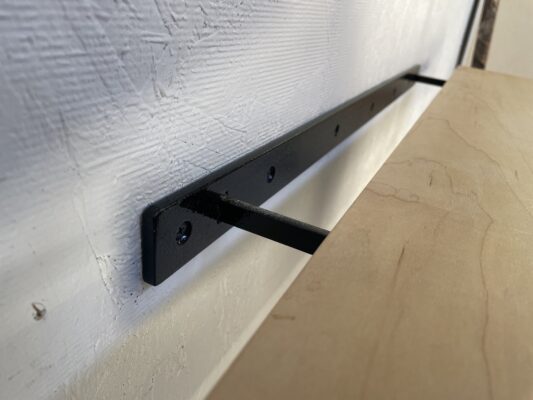
In the following steps, we’re going to explain how to install a solid wood floating shelf. We will cover your shelf selection, installing the floating shelf bracket, mounting the floating bracket to the wall, and installing the wood shelf. There are several ways to create a floating shelf, but this is how several of our customers do so:
Choose Your Wood Shelf
In this step-by-step process, we’re going to discuss how to create a modern solid wood shelf. Selecting your wood type is important, as many species are great for shelving, and many are not. You want to use a wood type that’s dense enough to not chip and dent while you finish it, yet not too dense where it causes strain on your tools. Also, very dense woods are usually expensive, when you don’t need the most expensive wood types for shelving. Here are great wood species for wood shelving and why:
-
- Douglas Fir:
-
-
- A softwood?! Yes Doug Fir can be made into very nice wood shelving with thick beautiful grain patterns! Hardwood’s “tend” to be more dense, but the real difference is a hardwood has leaves and many times will bear fruit, when a softwood has pines needles and “tend” to be softer and lighter. The density of douglas fir is 530 kg/m3 which is nearly the same density as American Elm, at 570 kg/m3.
- Doug Fir is cheap, workable, decently machinable, and has a variety of different patters. You can have a rustic style with knots, or find clear pieces without knots. A great option for traditional or floating shelves.
-
-
- Alder:
-
-
- Alder is another favorite due to the low cost for a hardwood and availability. This species of wood grows throughout the United States, so it’s readily available and affordable. This wood species is not very porous, so it’s easy to stain. With a density of 420 – 680 kg/m3, this hardwood is light but still safe from bowing and warping over time. A great option for shelving, cabinetry, and several other household projects!
-
-
- Maple:
-
-
- Once of our favorite species to work with. Maple looks good both in lumber and live edge form. Maple has beautiful grains and has a shine to it when finished. This is a very dense hardwood and relatively inexpensive for that density of 620 – 750 kg/m3.
-
-
- Mahogany:
- Mahogany is grown in tropical areas and is a very rich hardwood. After conditioning, this species will show amazing detail in the wood grain. This wood species is also very easy to work with and doesn’t chip easily when sanding/routing. A great option for furniture and shelving!
- Mahogany:
-
- Walnut:
- Walnut is one of the most beautiful wood species out there. This is a very popular hardwood uses for furniture, large tables, mantels, and of course shelving. This is a dense hardwood that is easy to work with. When drilling and routing this species, you’ll need to take your time as the density can heat up the bits. When finishing walnut, we recommend hand sanding with a high grain sandpaper and using a wood wax. This will create an amazing finish!
- Walnut:
-
- White Oak:
- White oak is a hardwood growth all over the East coast of the United States. This means it’s readily available and affordable vs many other hardwoods. This wood is so dense that you’ll battle dulling tools when working with it. We also recommend when cutting and ripping white oak, do so very close to size so during the sanding process, you can go straight to higher grits. Low grit sand paper does not act well with high density woods.
- White Oak:
-
- Red Oak:
- Red oak is slightly less dense than white oak and is a darker and more rich color. The grain is very similar, so you’ll mainly want to go with the color and tone that will better match your project. Red oak will match the cabinetry of many homes built in the 90’s, as this was a popular wood species used at that time.
- Red Oak:
-
- Cherry:
- Cherry wood is an extremely rich wood that is a favorite among many woodworkers. This species is not as dense as an oak, but plenty dense to work into high quality furniture. You’ll want to make sure you use carbide tips when working with cherry as it tends to burn when worked too hard. Make sure to use a high quality wood wax on cherry to bring out the rich color!
- Cherry:
Setting Up Drill Guides
Drilling Mounting Holes
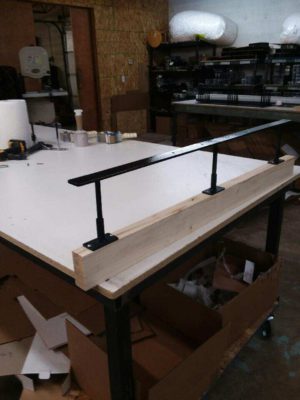
Using a 1/2″ drill bit at least 8″ long, insert the bit into the installed drill guides and drill straight down. We recommend taking your time with this, as you’ll be extracting a lot of material drilling 6″-7″ into the shelf. Keep in mind the drill bit will get hot!
Dry Fit Floating Shelf Bracket
Once the holes are drilled, remove the drill guides and dry fit the floating shelf. If the bracket doesn’t smoothly slide into the shelf, drill out more space in the holes. Since the holes are already drilled straight, you don’t need to re-attached the guides when slightly adjusting the holes.
Route 1/4″ Slot For Bracket Mounting Plate
The bracket is 1.5″ tall and the length varies depending on the size you need. The thickness of the plate is 1/4″, so the routed slot should just slightly deeper than 1/4″. This will ensure the bracket is deep enough to not be exposed. Keep in mind when the bracket is powder coated, it’s slightly thicker than 1/4″.
Mount Floating Shelf To Wall
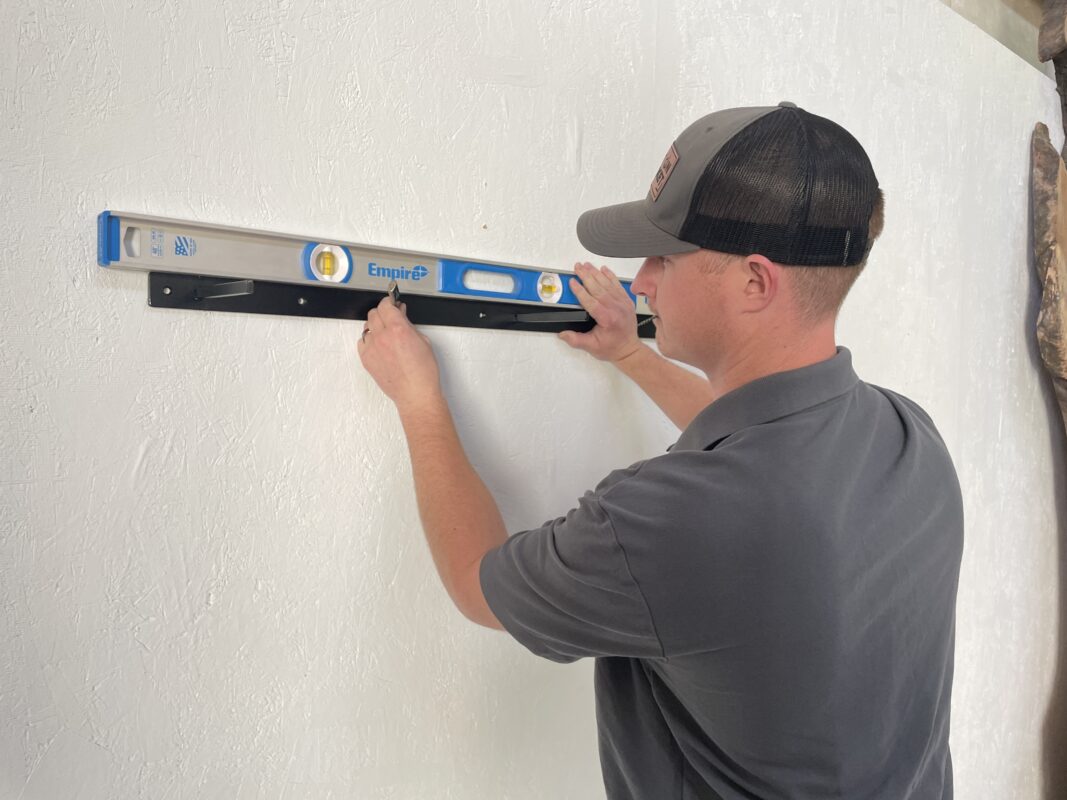
Once your floating shelf bracket slides smoothly into the shelf and you have a routed slot in the rear, you’re ready to install your shelf to the wall! This is a part of the process you want to spend some time on to ensure your shelf is level.
Use a pencil to mark on the wall where you want to mount your shelf. You’ll also need to mark where your mounting holes on the wall need to be drilled. When installing the floating shelf bracket, you want to hit at least 2 wall studs. If your holes don’t align perfectly with the studs for when you want to mount the shelf, you can drill holes in the bracket as well.
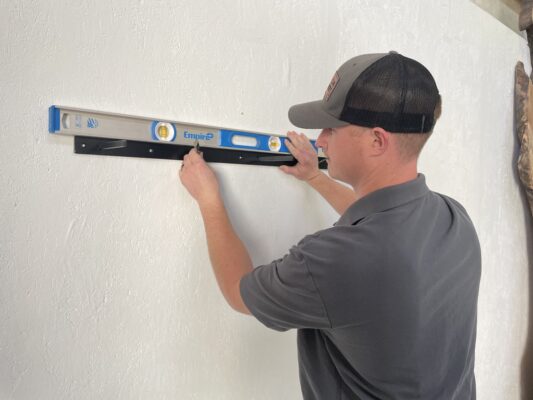
We also recommend using strong drywall anchors with these brackets. If you mark your mounting holes on the wall, you can pre-install drywall anchors that can hole 50-70 pounds each. A combination of these along with a couple of hits on a wall stud will provide a strong shelf mount!
Once you have your markings and drywall anchors ready, mount the bracket to the wall. We recommend tapered #12 wood screws. These will fit the countersunk holes on the bracket perfectly.
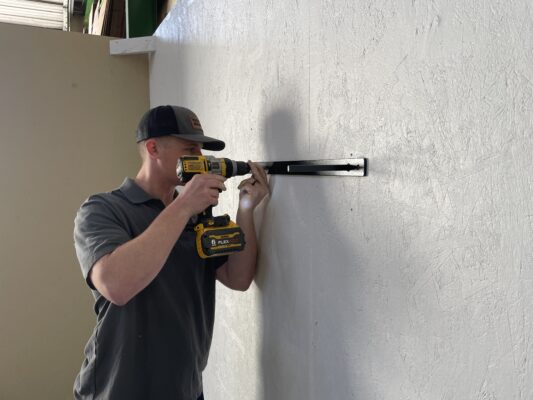
Put Small Amount Of Adhesive In Mounting Holes
Slide Shelf Onto Wall Bracket
