How to Install a Floating Shelf Bracket
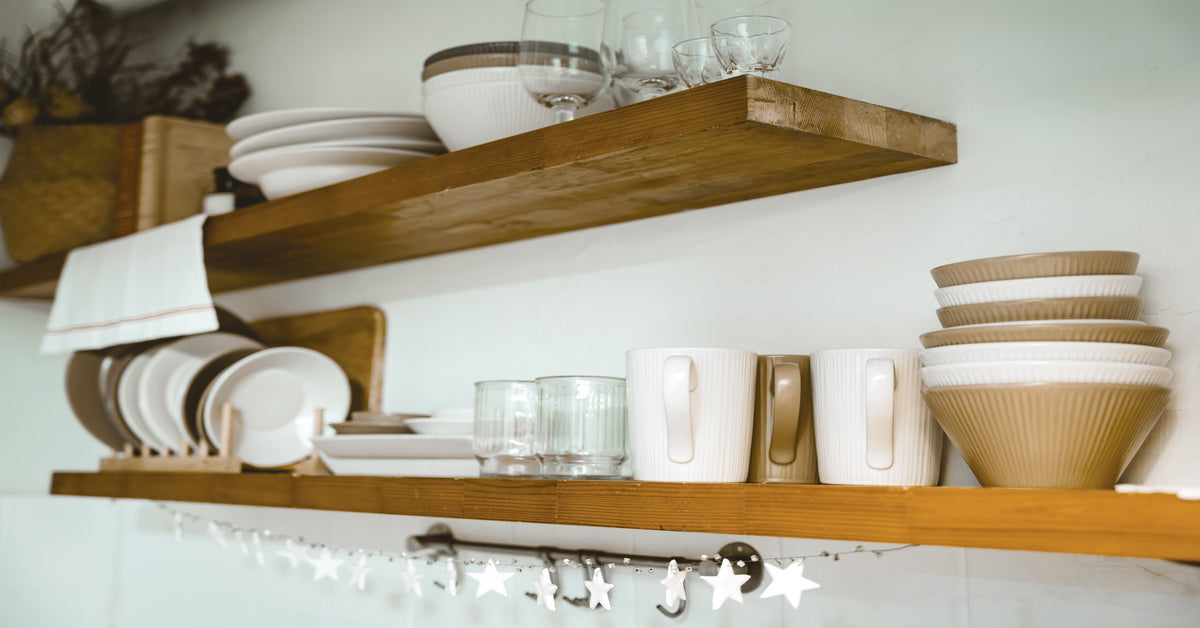
Many people want the perfect home interior, so they take it upon themselves to create and design each section of their homes. An extravagant remodel, new paint, or fancy décor can help, but many homeowners forget the simplicity of new shelving fixtures. In fact, floating or vertical shelves are great ways to optimize shelving space while making your home look modern and trendy.
One great DIY interior home project anyone can do is install their own vertical shelf. Read this guide on how to install a floating shelf bracket in your home using our easy-to-follow instructions. For those who don’t know, a floating or vertical shelving bracket ensures almost invisible support for a modern shelf design. Use flat dowels that stick out from the bracket and wood shelves over 1.5” thick to ensure invisibility—the dowels slide into the shelf for stability and allow slight room for error.
Find the Wall Studs
First, use a stud finder to identify the studs in the wall. Weight specifications for the shelf may void if you install the brackets into the drywall, so installing in the studs is imperative. Slide the finder along the wall horizontally until you find each stud. Pencil-mark these spots. Another way to find each stud is through the dimples in the trim. You should also mark the dowel locations on your shelfing bracket. The locations will differ per bracket size, so you should purchase the brackets before marking the wall.
When you find all the wall studs, compare them with the dowel locations floating shelf bracket. They should all align, but if not, you may need to drill new mounting holes later.
Drill the Location for the Floating Brackets
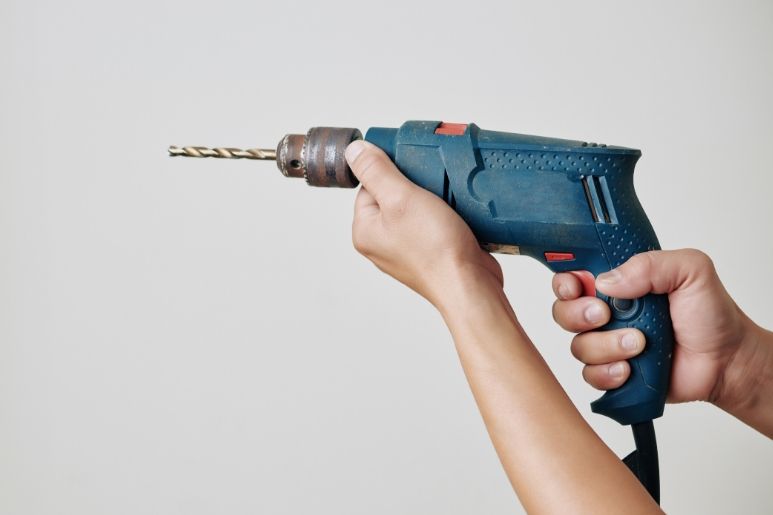
Using a signature drill guide, drill the mounting holes. These should be straight so that the bracket bars fit accordingly. A 0.25” drill bit can get you started. As you create each small hole, switch to a 0.5” bit for the bracket. Measure the bracket’s length to space out each respective hole. Since the drill guide mounts on the back of the shelfing bracket, use two small screws to secure it. Check each location before drilling to ensure it’s positioned correctly. Don’t drill too deeply when making the hole, or else there won’t be enough bracket for the shelfing unit.
Secure the Bracket in the Hole
Place the bracket in the hole and twist until there’s tight resistance. Again, your shelfing bracket should align with the wall studs. Use a level and stud finder for the other bracket, and mark this location with a pencil. The distance between each bracket should not exceed the length of the shelf.
Install the Brackets
As you place the second bracket into its hole, twist it until it’s tightly secured. Use the level so that the surface is even and steady. If the brackets aren’t level, you may have to remove one and realign it. Using a ruler, measure the distance from each bracket to know where to drill their shelfing holes. This measurement must be exact, so don’t cut corners. If necessary, write down each measurement to remember.
Drill into the Shelf
You can skip this step if you’re using pre-drilled mounting holes aligned with your wall studs. Otherwise, based on the bracket measurements, draw dots on the back of the shelfing unit to know where the holes must go. These holes must be straight and level. Typically, each hole should be at least one inch away from one another, with a 0.25″ hole in the middle of the bracket. Carefully drill the holes into the wood using a drill press. If you don’t have a drill press, create a jig using two pieces of wood on either side of the shelf with a thin slab nailed on top. Place a piece of tape on the shelf to mark the depth, and avoid over-drilling. You may need to measure the shelf so that it’s the appropriate thickness based on the bracket’s specifications.
Mount the Shelves onto the Brackets
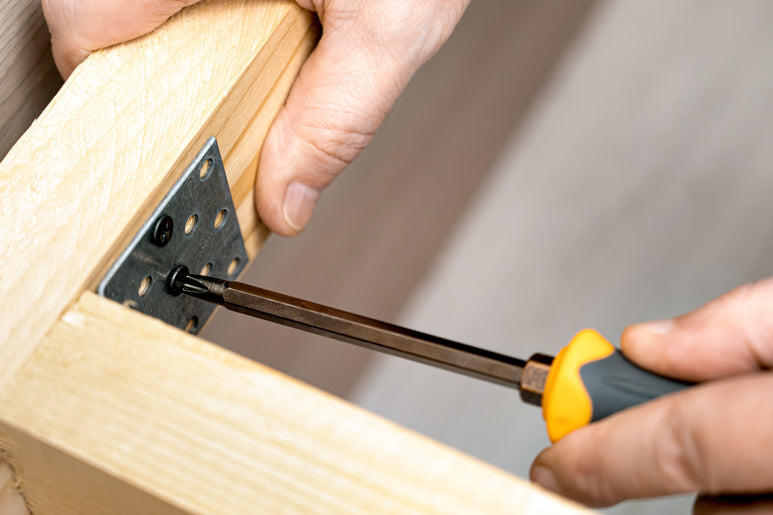
Align the mounting holes with the stud markings. Using a #12 wood screw between 1.5” and 2” long, mount one side first. Then, mount the other side. Use your level to ensure an even surface. Once both screws are in place and the surface is level, install the mounting screws into the wall studs. Once you’re finished with this step, you can slide the bracket into the holes. If you want, you can use epoxy in the holes to bond the bracket dowels with the shelf.
Finished
As you complete the bracket, you can then add any decorations or items you wish to the shelf. Floating shelving brackets can usually support up to 250 lbs, depending on the number of dowels used. Do not exceed this limit, or else your shelf can collapse. Now you have finished installing a floating shelf bracket in your home. This is the perfect option for any floating entertainment center or trophy case. Consider stone, glass, or wood shelving for the best weight support and aesthetic appeal.
For the best hidden shelf brackets made from American steel, check out our selection at Right On Bracket. Our floating shelves feature in-wall brackets that mount directly to the studs. Just to prove they can bare tremendous weight, our floating brackets are great for floating granite, marble, and other natural stone or glass shelves as well as wood. Since the studs mount over the wall, the shelf’s max bearing load increases to support your fixtures without losing its durability. Our heavy-duty floating shelf brackets come in both left- and right-side options, with lengths ranging from 8”, 10”, 12” and 15” and thicknesses from 3/8” to ½”. Note that our hidden shelf brackets extrude 9¾” from the mounting plate and require six screws to mount. Given the 2½” wide mounting plate and its 3/16” thickness, you’ll see awesome weight support without damage to your walls or shelving unit. You can choose between no-shelf mounting holes or add a shelf mounting hole, depending on your preference.


