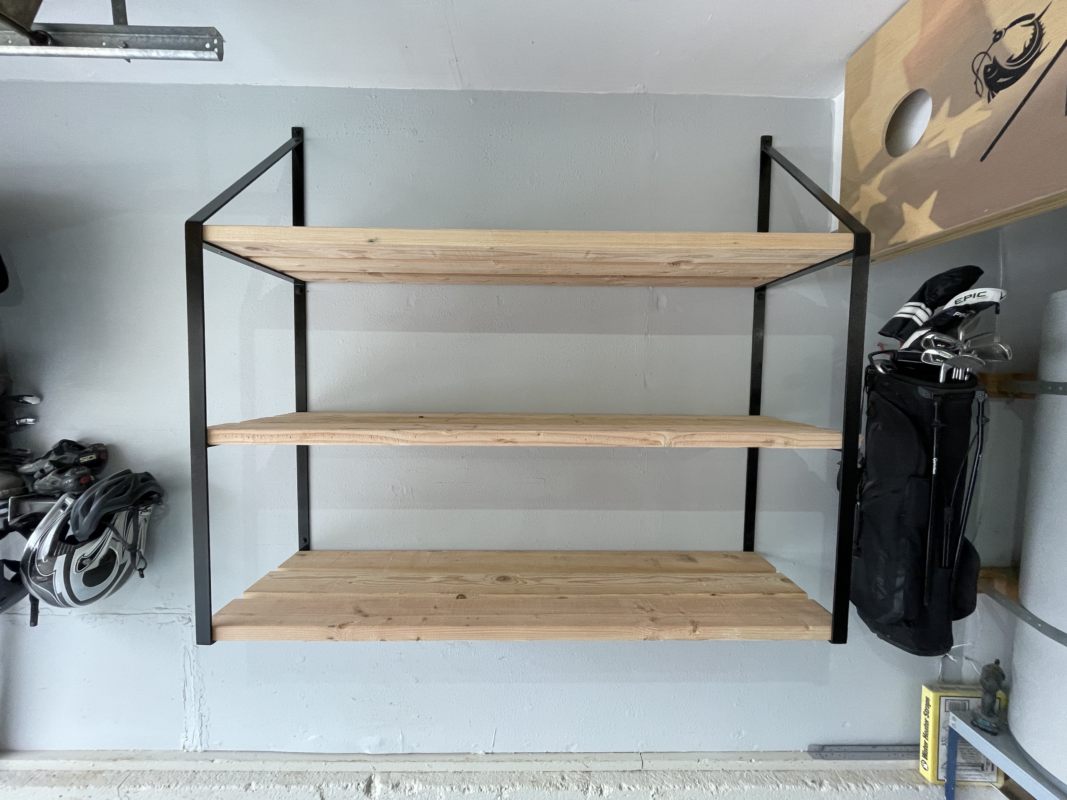
Installing Garage Shelving System
Installing Heavy Duty Shelving
When it comes to organizing items in your garage, you need to make sure your racking can support a high amount a weight. Tools, sporting goods, and everything else you have can add up in total weight fast! In the example below, our storage shelving brackets can withstand 400 pounds! These brackets are very similar to our shipping container brackets, but without the hook and install directly to a wall. Here are the steps to install our shelving system:
Clear Your Junk!
We start with the obvious, clear away all objects and items in the way of your installation. You’ll want plenty of space when installing these large steel brackets, especially the two tier and three tier brackets which are quite large.
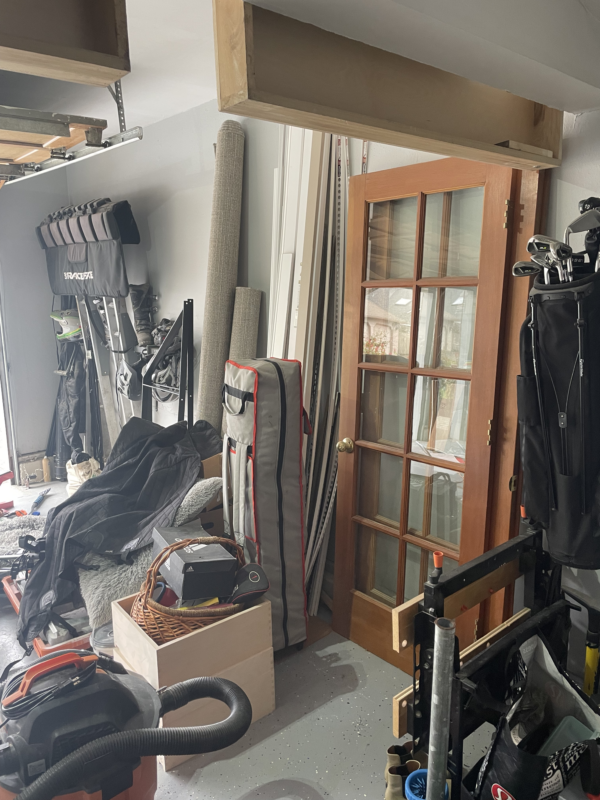
Plan Your Shelf Mounting Location
Measure your space on your wall and make sure you have enough space for all the items you want to suspend on your shelves. You can use several of these brackets to create a long shelf along a wall. In the example here we will just be installing 2 brackets for a standard shelving system.
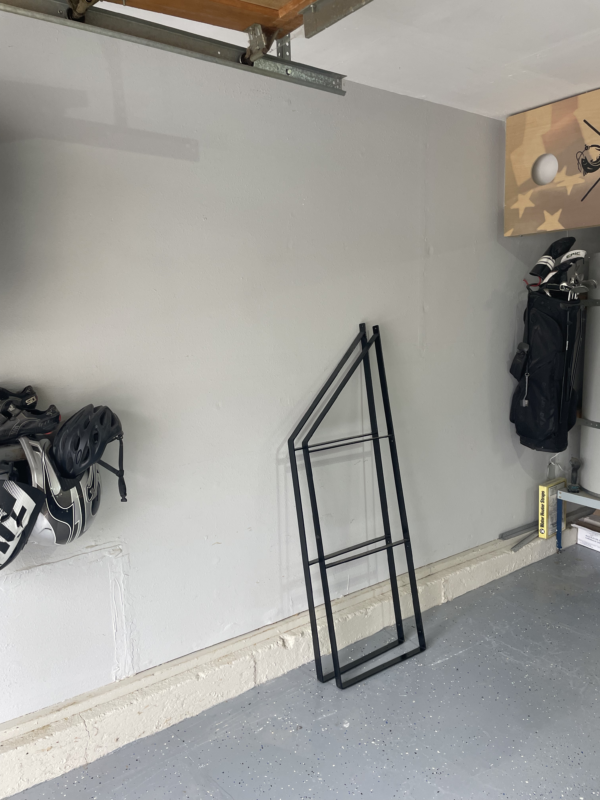
Locate Wall Studs
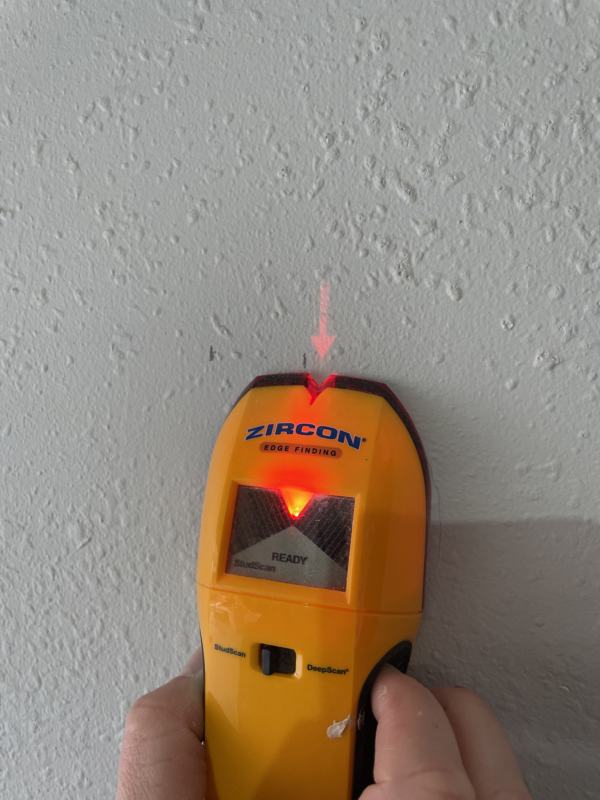
You cannot install these brackets unless they’re installed directly to wall studs. No drywall anchor will be able to withstand the brackets and weight on the shelving system. Using a stud-finder, locate both edges of the wall stud and draw a dot in the center of the wall stud where you will be drilling a hole for your lag bolt.
Using your stud finder, locate the other wall stud where you will be installing the other bracket. Use a laser level and draw a dot where you will drill your other mounting hole for a lag bolt. This will ensure both brackets are perfectly level with each other.
Pre Drill Holes
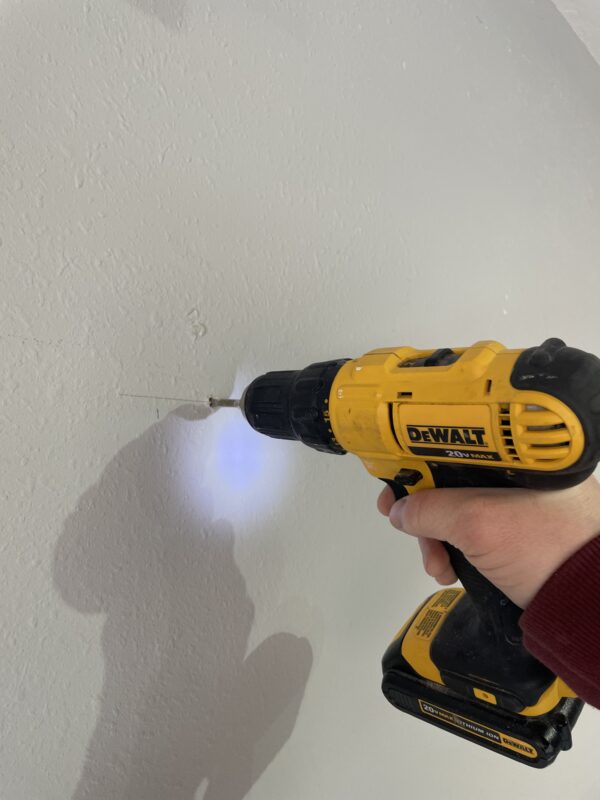
Use a 1/4″ drill bit to start holes for your lag bolts. For these brackets we recommend 3/8″ x 3″ lag bolts and they’ll fit the holes in the bracket perfectly. These pre-drilled holes are important because you don’t want the lag bolt installation to cause the wall stud to crack.
Install Lag Bolts
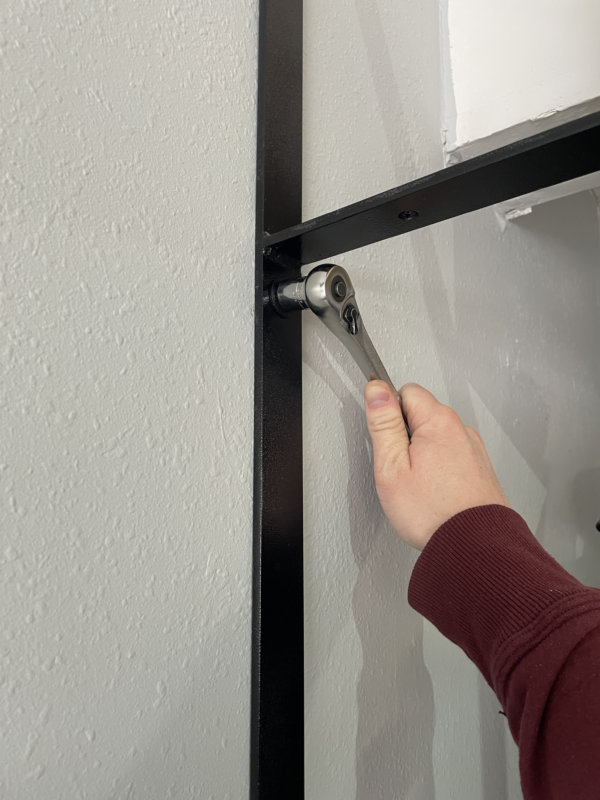
Use either a socket wrench or impact driver to install the lag bolts. In this example, we are using a socket wrench and hand tightening. A 2″ or 3″ lag bolt will do just fine in for these brackets. If you’re going to install a large amount a weight, use a 3″ lag bolt so the installation is “over” engineered. Install just 1 lag bolt and leave the bracket just loose enough for adjustments, as we’ll be adjusting the bracket in the next step.
Adjust Shelf Bracket To Be Level
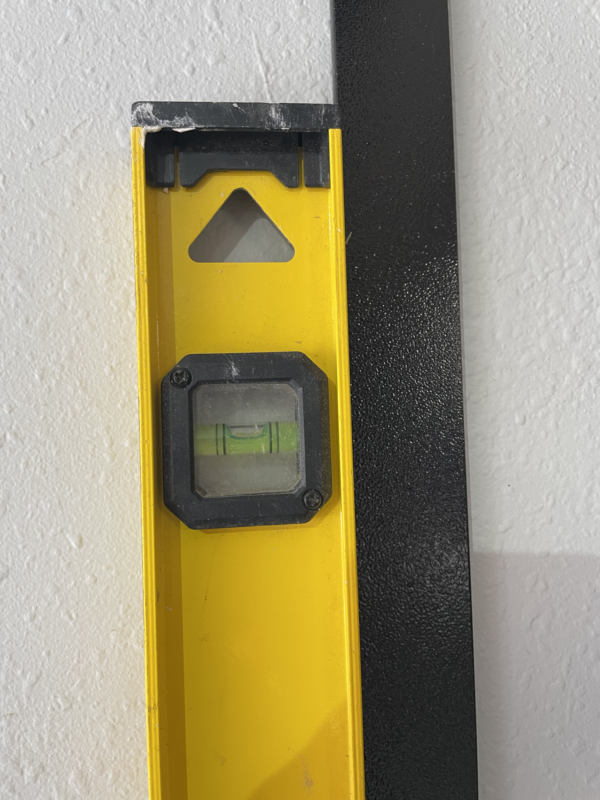
With just 1 lag bolt in the bracket, adjust the angle of the bracket with a level and ensure the bracket is perfectly level up and down. This will ensure your brackets and shelves are square and level. Do this with your other brackets as well.
Install Additional Shelf Brackets
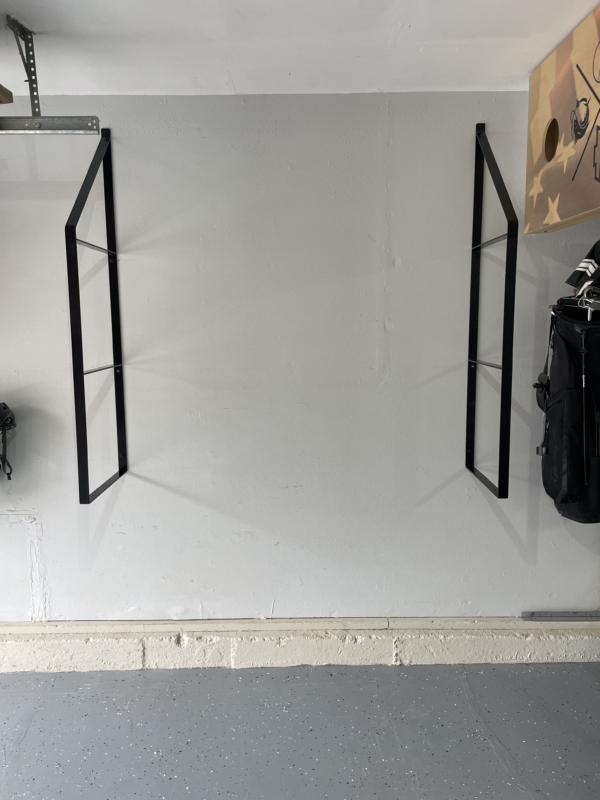
Once this is done, pre-drill your other shelf mounting holes for the remaining lag bolts. Once this is done, install all your lag bolts and secure the bracket. Repeat with other shelf brackets.
Install Wood Boards
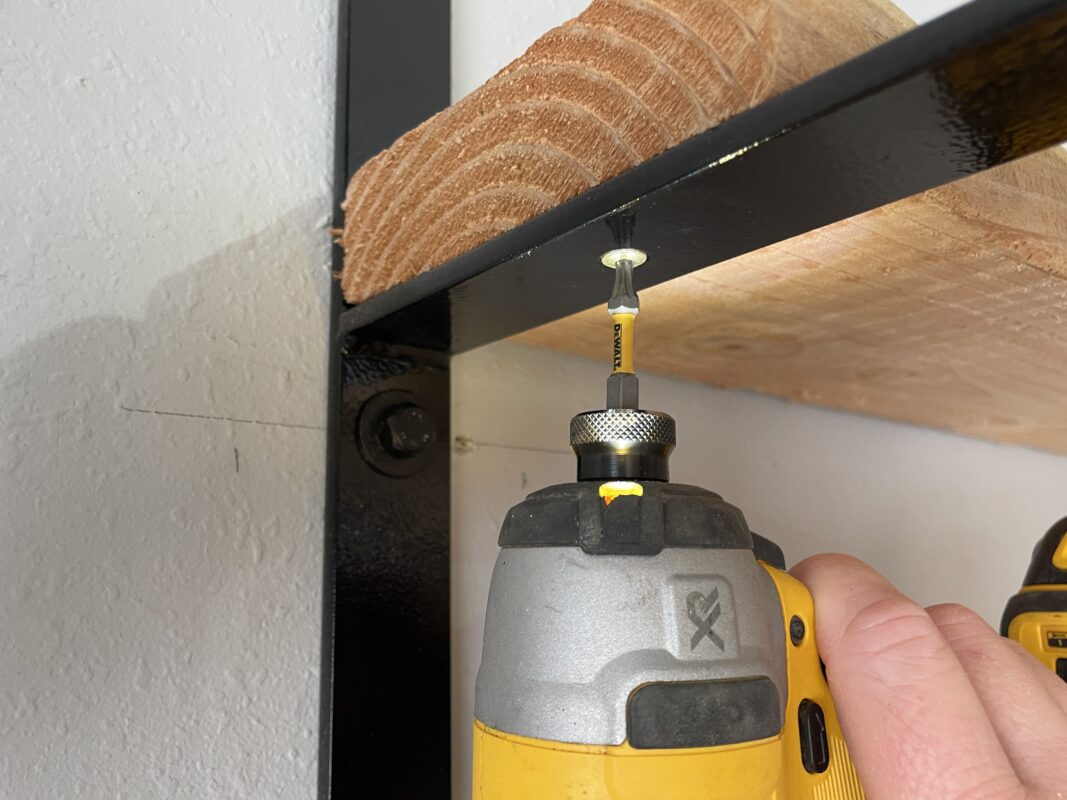
Once your brackets are installed and secured, measure the distance between both edges of the brackets. Cut your 2″ x 6″ wood boards to be just longer than the length of your brackets by 1″ on both sides. Once all your boards are cut and your wood planks are dry fit, install a 1″ wood screw to screw your boards from sliding.
Organize Your Stuff!
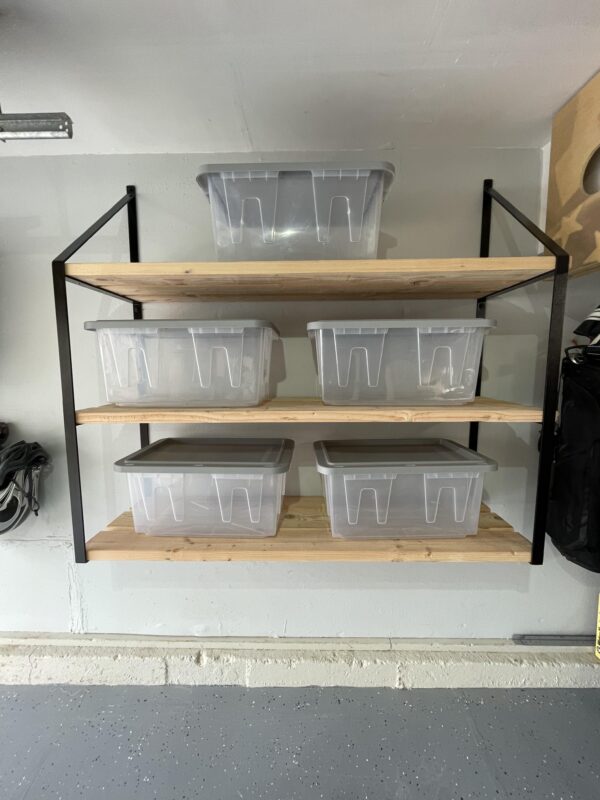
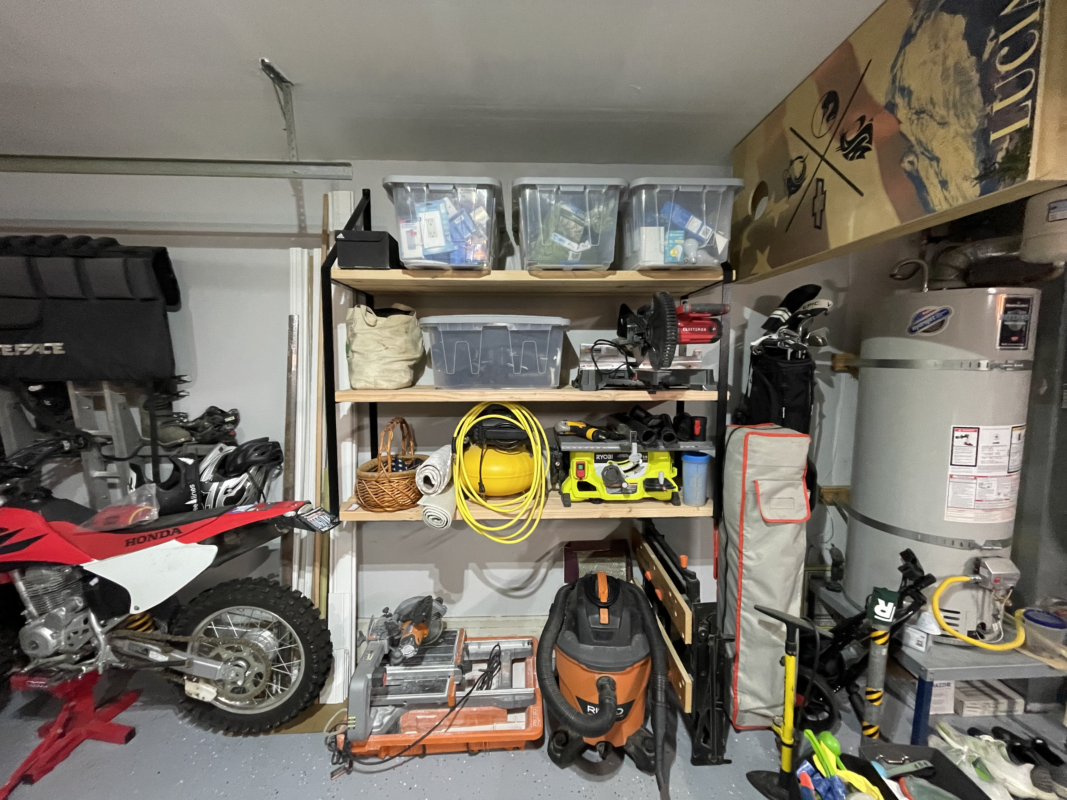
Once your boards are secure, start organizing your stuff! Our well shelving system is customizable to many sizes and tiers. These brackets are perfect for a garage or any storage area. With 19″ in depth, you’re able to put standard organizer tubs throughout the system. Like the rest of our brackets, they will be smooth to the touch and have a powder coat to prevent any rust. Designed to withstand weight and the elements of your home for a long time!

Similar Brackets
The following brackets could be used as a similar project. These brackets will require more installation hardware and thought behind the design, as our storage shelving system can create multiple shelves with just 2 brackets.
Right Angle Brackets
Traditional Right Angle Brackets are a simple way to install shelves. We have several designs available, which include different lengths and thicknesses. A combination of 2 right angle brackets can hold upwards of 200 pounds safely and effectively.
Heavy Duty Floating Brackets
Our heavy duty floating shelf brackets require the removal of a drywall, but will create an extremely strong floating design. The mounting plate will directly mount to the edge of the wall stud with 6 different mounting holes. This can hold hundreds of pounds and create a very modern design.
Floating Shelf Brackets
These floating brackets don’t have the greats weight capacity vs other brackets, but they’re easy to install and still hold well over 100 pounds. These brackets are completely hidden from view and install without the removal of any drywall.


